Wood paneling can bring warmth and character to any space, but sometimes, it can feel outdated or dark.
Painting wood paneling is a cost-effective way to update and brighten a room while maintaining its rustic charm.
However, achieving a professional-looking finish requires careful preparation and execution.
In this guide, we’ll explore the steps and tips to help you paint wood paneling like a pro.
Preparation is Key:
Once the surface is clean and dry, it’s time to address any imperfections. Inspect the paneling closely for cracks, holes, or rough spots.
Fill any cracks or holes with a quality wood filler, following the manufacturer’s instructions for application and drying times.
Sand down any rough spots or uneven areas using fine-grit sandpaper until the surface is smooth to the touch.
After smoothing out imperfections, it’s essential to prime the paneling before painting.
This step ensures better adhesion of the paint and helps achieve a more uniform finish.
Choose a primer specifically designed for wood surfaces and apply it evenly using a brush or roller.
Be sure to allow the primer to dry completely according to the manufacturer’s recommendations before proceeding to the next step.
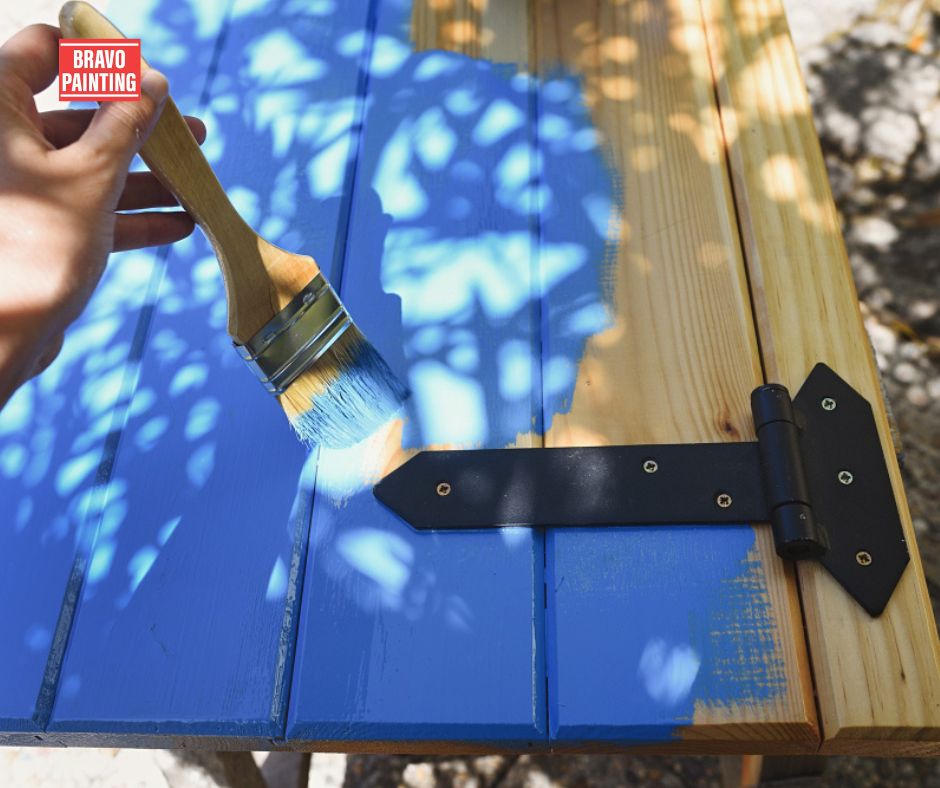
Once the primer is dry, you’re ready to paint! Select a high-quality paint suitable for wood surfaces in the color of your choice.
Apply the paint evenly in smooth, overlapping strokes, working from top to bottom and following the natural grain of the wood.
Depending on the color and coverage you desire, you may need to apply multiple coats, allowing each coat to dry thoroughly before applying the next.
Sand the Surface:
Sand the surface of the wood paneling using fine-grit sandpaper, lightly working across the surface.
This process creates a slightly rough texture, enhancing adhesion for the primer and paint layers.
It is additionally, sanding smooths out any imperfections present in the wood, ensuring a more even and polished finish.
Be thorough but gentle to avoid damaging the wood surface.
After sanding, wipe down the paneling with a clean, damp cloth to remove any dust or debris.
This ensures a clean surface for priming and painting, allowing for optimal adhesion and a flawless finish.
Fill in the Gaps:
Inspect the paneling closely for any gaps, cracks, or holes that may need attention.
Fill these imperfections with a high-quality wood filler, using a putty knife to spread it evenly.
Allow the filler to dry completely according to the manufacturer’s instructions.
Once dry, sand the filled areas smoothly to ensure a seamless finish that blends seamlessly with the surrounding wood surface.
Prime the Surface:
Priming the surface before painting is a pivotal preparatory step that significantly impacts the outcome of any paint job.
By applying a high-quality primer formulated explicitly for wood surfaces, you create a stable and uniform base for the paint to adhere to.
This not only ensures better adhesion but also enhances the durability and longevity of the paint finish.
Whether you’re painting walls, furniture, or paneling, the primer acts as a foundation, helping to seal the surface, hide imperfections, and promote even color distribution.
Taking the time to prime appropriately sets the stage for a professional-looking and long-lasting paint job.
Choose the Right Paint:

Choosing the appropriate paint is paramount for achieving a polished, professional finish.
Opt for a premium-quality paint explicitly designed for wood surfaces, ensuring optimal adhesion and durability.
Satin or semi-gloss finishes are favored for wood paneling due to their resilience and ease of maintenance.
These finishes enhance the wood’s natural beauty and offer excellent resistance to wear and tear.
By selecting the right paint type and finish, you can elevate the appearance of your wood paneling while ensuring long-lasting results that withstand the test of time.
Test Paint Samples:
Testing paint samples on a small, inconspicuous area of the paneling is a prudent step before committing to painting the entire surface.
This precaution allows you to assess the color and finish firsthand, ensuring they align with your vision.
By conducting this test, you can avoid any unexpected outcomes or dissatisfaction once the entire paneling is painted.
It’s a simple yet effective way to confirm your choice and proceed with confidence, ultimately leading to a more satisfactory result.
Take the time to test paint samples—it’s a worthwhile investment in achieving the perfect look for your space.
Apply Paint in Thin Coats:
When painting wood paneling, applying thin coats yields better results than thick ones.
Use a brush or roller to apply the paint evenly, working in small sections for precision.
Avoid overloading the brush or roller, as this can lead to drips and streaks on the surface.
By applying paint in thin, even layers, you ensure a smoother finish and better coverage, ultimately achieving a more professional look.
Take your time and focus on consistency throughout the painting process for optimal results.
Use Long, Even Strokes:
To achieve a flawless and uniform finish, employ long, even strokes while painting.
Follow the direction of the wood grain to preserve the natural texture of the paneling.
This method ensures a smooth application and consistent coverage.
By taking your time and attending to details, you can achieve professional-looking results that enhance the beauty of the wood.
Focus on maintaining a steady hand and consistent pressure throughout the painting process for the best outcome.
Allow Sufficient Drying Time:
Allowing sufficient drying time between coats is crucial for achieving a seamless finish.
Adhere to the manufacturer’s guidelines for drying times between coats, ensuring each layer has ample time to set correctly.
To prevent smudges or imperfections, refrain from touching or disturbing the painted surface until it has thoroughly dried.
Patience during the drying process ensures that each coat bonds effectively, resulting in a professional-quality finish that enhances the appearance of the wood paneling.
Finish with a Protective Coat:
Once the paint has fully dried, consider applying a clear topcoat or polyurethane finish to enhance durability and safeguard your painted wood paneling.
This additional protective layer adds longevity to the paint job, making the surface easier to clean and maintain over time.
By sealing the paint with a protective coat, you enhance its resistance to wear and tear and preserve the vibrancy of the colors.
Take this extra step to ensure that your wood paneling remains pristine and retains its beauty for years to come.
Conclusion
Once the paint has fully dried, consider applying a clear topcoat or polyurethane finish to enhance durability and safeguard your painted wood paneling.
This additional protective layer adds longevity to the paint job, making the surface easier to clean and maintain over time.
By sealing the paint with a protective coat, you enhance its resistance to wear and tear and preserve the vibrancy of the colors.
Take this extra step to ensure that your wood paneling remains pristine and retains its beauty for years to come.
For professional painting services, visit Bravo Painting.
FAQs
Why should I consider painting my wood paneling?
Painting wood paneling is a cost-effective way to update and brighten a room while maintaining its rustic charm. It can transform outdated or dark paneling into a fresh, modern look.
How do I prepare the wood paneling surface for painting?
Preparation is key. Start by cleaning the surface thoroughly and addressing any imperfections such as cracks, holes, or rough spots. Fill them with a quality wood filler, sand down uneven areas, and prime the paneling before painting.
What type of primer should I use for wood paneling?
Choose a primer specifically designed for wood surfaces. This ensures better adhesion of the paint and helps achieve a more uniform finish. Follow the manufacturer’s recommendations for application and drying times.
How many coats of paint should I apply?
Depending on the color and coverage you desire, you may need to apply multiple coats of paint. For best results, allow each coat to dry fully before applying the next.
Why is sanding important in the painting process?
Sanding creates a slightly rough texture on the surface, enhancing adhesion for the primer and paint layers. It also smooths out imperfections in the wood, resulting in a more even and polished finish.
What should I do to fill in gaps or cracks in the paneling?
Inspect the paneling for any imperfections and fill them with a high-quality wood filler. Once dry, sand the filled areas smoothly to ensure a seamless finish that blends with the surrounding wood.
How does choosing the right paint affect the outcome?
Opt for a premium-quality paint specifically designed for wood surfaces. Satin or semi-gloss finishes are preferred for wood paneling due to their resilience and ease of maintenance.
Why is it necessary to test paint samples before painting the entire surface?
Testing paint samples allows you to assess the color and finish firsthand, ensuring they align with your vision. It helps avoid any unexpected outcomes or dissatisfaction once the entire paneling is painted.
What is the importance of applying paint in thin coats?
Applying paint in thin, even layers ensures a smoother finish and better coverage, ultimately achieving a more professional look. Avoid overloading the brush or roller to prevent drips and streaks.
How long should I wait between coats of paint?
Follow the manufacturer’s guidelines for drying times between coats. Allowing sufficient drying time ensures each layer sets appropriately, resulting in a seamless finish.
Should I apply a protective coat after painting?
Applying a clear topcoat or polyurethane finish can enhance durability and safeguard your painted wood paneling. It adds longevity to the paint job and makes the surface easier to clean and maintain over time.


