Wood staining is a crucial step in maintaining and enhancing the beauty of outdoor residential spaces.
From decks and patios to fences and pergolas, proper wood staining not only adds aesthetic appeal but also provides essential protection against the elements.
This article outlines the best practices for wood staining to ensure durability, longevity, and a stunning finish for your outdoor wooden structures.
Understanding Wood Staining
Wood stain is a type of finish that enhances the natural grain of wood while providing a layer of protection.
Unlike paint, which covers the wood surface, stain penetrates the wood, offering more profound protection and a more natural look.
There are two main types of wood stains: oil-based and water-based.
- Oil-based stains: Penetrate more profound into the wood and provide excellent durability and water resistance. They are ideal for high-traffic areas but require longer drying times and have a more pungent odor.
- Water-based stains: Dry faster, have less odor, and are easier to clean up. They are environmentally friendly but might not penetrate as deeply as oil-based stains.
Preparing the Wood Surface
Proper preparation is critical to achieving a long-lasting and attractive finish.
Follow these steps to prepare your wood surface for staining:
- Clean the Wood: Remove dirt, mildew, and old stain or paint. Use a wood cleaner or a mixture of mild detergent and water. For tough stains, a power washer can be effective but use it cautiously to avoid damaging the wood.
- Sand the Surface: Sanding opens up the wood pores, allowing the stain to penetrate more evenly. Use medium-grit sandpaper (80-120 grit) for this task. Always sand in the direction of the wood grain to avoid scratches.
- Repair Damages: Fill any cracks or holes with wood filler and sand the filled areas smooth once it dries.
- Dry the Wood: Ensure the wood is completely dry before applying stain. Moisture can prevent the stain from penetrating correctly and lead to uneven coloring.
Choosing the Right Stain
Selecting the right stain is crucial for both aesthetics and performance. Consider the following factors:
- Color: Choose a color that complements your outdoor space and highlights the wood’s natural beauty. Test the stain on a small, hidden area to see how it looks when dry.
- Opacity: Stains come in various opacities, from clear to solid. Clear stains offer minimal UV protection but show the most natural wood grain.
Semi-transparent stains provide a balance of color and wood grain visibility, while solid stains offer the most color but hide the wood grain.
- UV Protection: For outdoor wood, choose a stain with UV inhibitors to protect against sun damage.
Applying the Stain
The proper application ensures a uniform finish and maximum protection. Follow these steps for the best results:
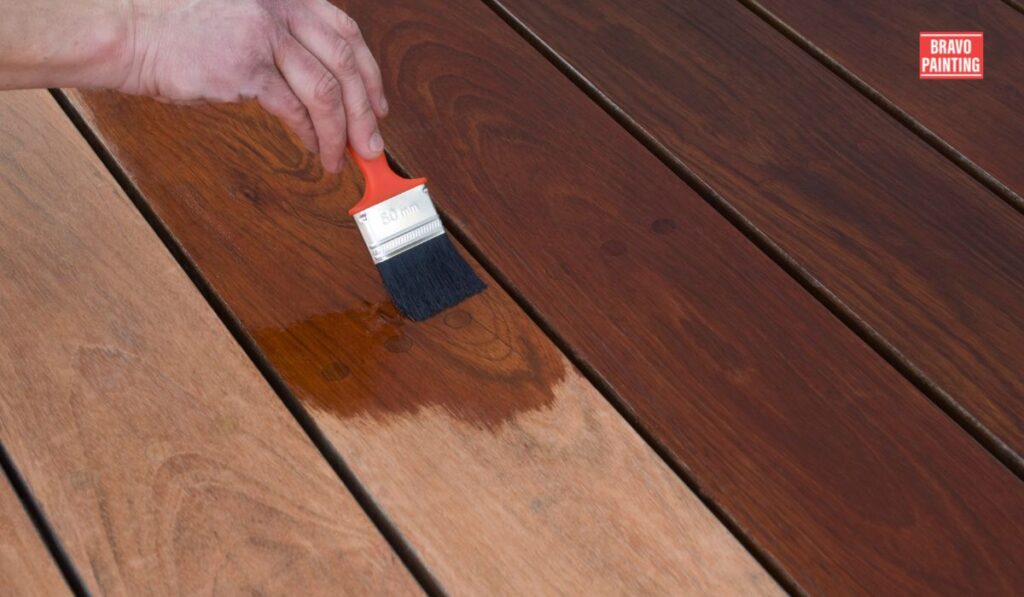
- Select the Right Tools: Use a high-quality brush, roller, or sprayer designed for stains.
Brushes work well for small areas and detail work, rollers cover large areas quickly, and sprayers offer an even coat with minimal effort.
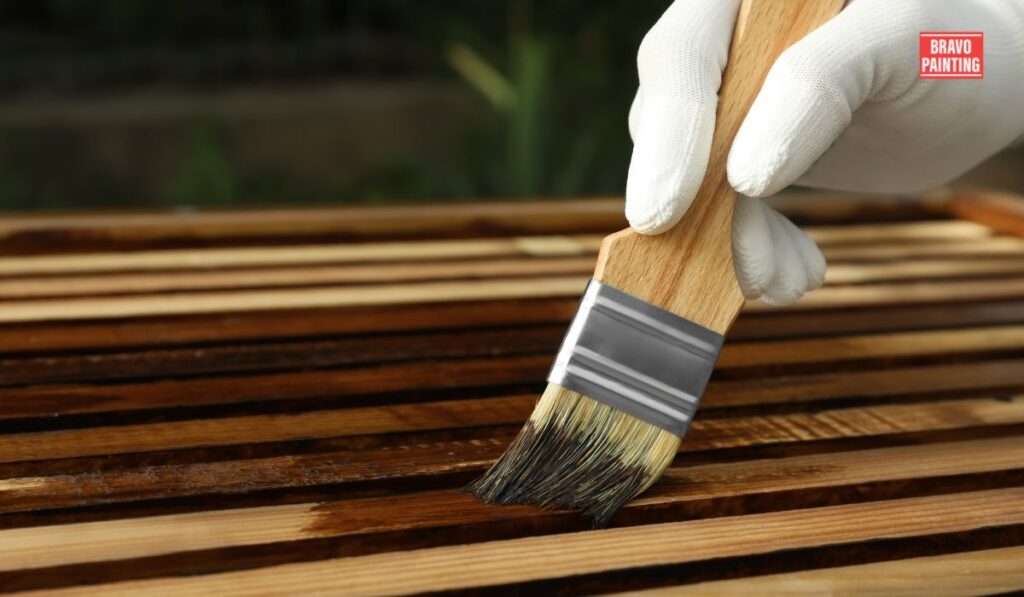
- Apply Evenly: Apply the stain in the direction of the wood grain.
Start with a thin, even coat to avoid pooling and drips.
Work in small sections to maintain a wet edge and prevent lap marks.
- Wipe Excess Stain: After applying the stain, allow it to penetrate for 5-15 minutes, then wipe off the excess with a clean cloth.
This step is crucial for achieving an even finish.
- Drying Time: Follow the manufacturer’s instructions for drying time between coats. Typically, one to two coats are sufficient.
Ensure each coat is fully dry before applying the next.
- Final Touches: Once the final coat is dry, inspect the surface for any missed spots or uneven areas and touch up as needed.
Maintaining the Stain
Regular maintenance will keep your stained wood looking fresh and protected. Here are some tips:
- Clean Regularly: Sweep off the debris and clean the surface with mild detergent and water to prevent dirt buildup and mildew growth.
- Inspect Annually: Check for signs of wear, such as fading, peeling, or water absorption. Touch up or reapply stain as needed, typically every 2-3 years.
- Protect from Elements: Covers or tarps can protect stained wood from harsh weather conditions, such as heavy rain or intense sun.
Environmental Considerations
When selecting a wood stain, consider its environmental impact.
Look for stains labeled as low VOC (Volatile Organic Compounds) or eco-friendly formulations.
These stains emit fewer harmful chemicals into the air, making them safer for both your health and the environment.
Additionally, choose stains made from sustainable or renewable resources whenever possible to reduce your carbon footprint.
Special Considerations for Different Wood Types
Different types of wood require different approaches to staining due to variations in density, grain pattern, and natural oils.
Here are some considerations for common types of wood used in outdoor residential spaces:
- Pressure-Treated Wood: This type of wood is infused with preservatives to resist decay and insect damage.
However, it often comes with a greenish tint due to the treatment process.
Allow pressure-treated wood to weather for a few months before staining to ensure proper adhesion and color absorption.
- Cedar: Known for its natural resistance to decay and insects, cedar has a distinct reddish-brown hue.
Cedar stains well and often benefits from a semi-transparent or transparent stain to highlight its natural beauty.
- Redwood: Similar to cedar, redwood is naturally resistant to decay and insects. Its rich reddish-brown color deepens with age.
Choose a stain that enhances this color while providing UV protection to prevent fading.
- Pine: Pine is a popular choice for outdoor projects due to its affordability and availability.
However, it is prone to knots and resinous areas that can affect stain absorption.
Use a wood conditioner before staining to ensure an even finish.
- Exotic Hardwoods: Woods like ipe, teak, and mahogany are prized for their durability and beauty.
However, their high natural oil content can make staining challenging.
For the best results, use a penetrating oil-based stain formulated explicitly for hardwoods.
Tips for Staining Vertical Surfaces
Staining vertical surfaces like fences, pergolas, and siding requires special techniques to avoid drips and runs. Here are some tips for successful vertical staining:
- Work from Top to Bottom: Start at the top of the vertical surface and work your way down to prevent drips from running over freshly stained areas.
- Use Thin Coats: Apply thin coats of stain to prevent excess buildup and dripping. Wipe off any drips immediately with a clean cloth to avoid staining adjacent surfaces.
- Consider a Pump Sprayer: A pump sprayer can be an efficient tool for staining large vertical surfaces, providing an even coat without the need for constant brushing or rolling.
Conclusion
Wood staining for outdoor residential spaces is not only about aesthetics but also about protecting your investment and preserving the natural beauty of wood.
By considering environmental factors, understanding the unique characteristics of different wood types, and employing special techniques for vertical surfaces, you can achieve professional-quality results that enhance your outdoor living experience.
Whether you’re staining a deck, fence, or pergola, these additional considerations for professional wood staining will help you achieve stunning and long-lasting results.
Ready to start your wood staining project? Contact Bravo Painting Company to schedule a consultation with our expert team. Let us help you transform your outdoor space into a beautiful and inviting retreat.
FAQs
What is wood staining, and why is it essential for outdoor spaces?
Wood staining is a finishing process that enhances the appearance of wood while protecting the elements. Outdoor spaces must maintain the wood’s durability and aesthetic appeal.
What are the main types of wood stains available?
There are two main types: oil-based stains and water-based stains. Oil-based stains offer deeper penetration and durability, while water-based stains dry faster and have less odor.
How should I prepare the wood surface before staining?
Proper preparation includes:
- I was cleaning the wood.
- I was sanding the surface.
- We are repairing any damages.
- Ensuring the wood is completely dry before applying the stain.
What factors should I consider when choosing a wood stain?
When selecting a wood stain for your outdoor space, consider factors such as color, opacity, UV protection, and environmental impact.
What are the best practices for applying wood stain?
Use high-quality tools, apply the stain evenly in the direction of the wood grain, wipe off excess stain after a few minutes, and follow the manufacturer’s instructions for drying time between coats.
How do I maintain the stain on outdoor wood surfaces?
Clean the surface regularly, inspect for signs of wear annually, and protect the stained wood from harsh weather conditions.
Are there any environmental considerations when choosing a wood stain?
Yes, to minimize environmental impact, it’s essential to look for low-VOC or eco-friendly formulations and stains made from sustainable resources.
What special considerations should I keep in mind for staining different types of wood?
Different types of wood require different approaches to staining. When staining pressure-treated wood, cedar, redwood, pine, or exotic hardwoods, consider factors such as natural oils, density, and grain pattern.
What are some tips for staining vertical surfaces like fences and pergolas?
Work from top to bottom, apply thin coats to prevent drips and consider using a pump sprayer for efficient coverage.