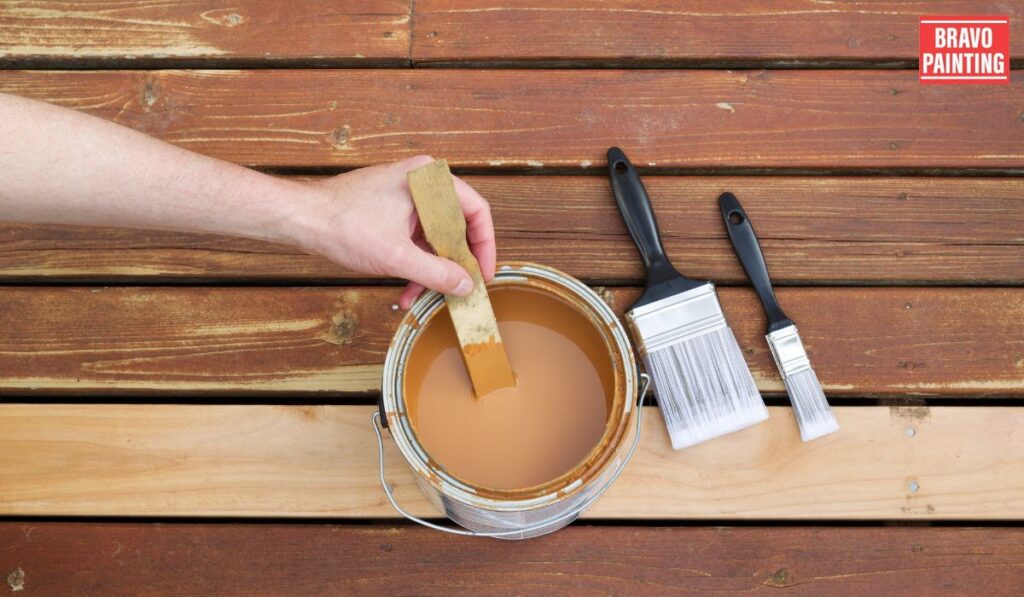
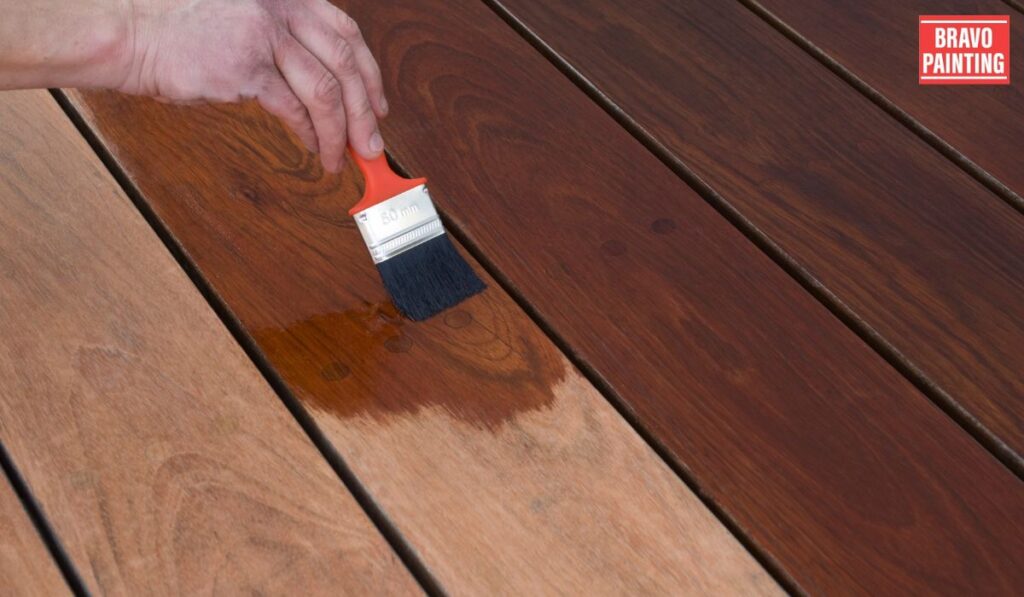
Wood staining is an art that brings out the natural beauty of wood while preserving its longevity.
Whether you’re a seasoned woodworker or a DIY enthusiast, staining wood can transform your projects.
This article will explore the best wood staining practices to help you achieve stunning results in your woodworking endeavors.
Understanding the Basics
Before diving into the world of wood staining, it’s essential to grasp the fundamentals.
Learn about the different types of wood and their grain patterns.
Familiarize yourself with the various types of stains, including oil-based, water-based, and gel stains.
Choosing the Right Wood
Selecting the appropriate wood is crucial.
Different woods absorb stains differently.
For instance, hardwoods like oak and maple absorb stains uniformly, while softwoods like pine may require pre-conditioning.
Sanding and Prepping
To achieve a flawless finish, start by sanding the wood surface.
Begin with coarse-grit sandpaper and gradually move to finer grits.
This process evens out imperfections and allows the stain to penetrate evenly.
Pre-Stain Conditioner
For softwoods or woods prone to blotching, apply a pre-stain conditioner.
This product helps prevent uneven staining and ensures a consistent color.

Stain Application
When applying the stain, use a brush, cloth, or sponge.
Apply the paint evenly in the direction of the wood grain.
Ensure you cover the entire surface but avoid over-saturation.
Waiting and Wiping
Allow the stain to penetrate the wood for the recommended time.
Then, wipe off any excess stain with a clean cloth.
This step helps achieve the desired color intensity.
Drying Time
Allow the stained wood to dry completely before applying any finish.
The drying time varies depending on the type of stain used.
Follow the manufacturer’s instructions.
Seal the Deal with a Finish
Once the stain is dry, it’s time to protect your wood with a finish.
Choose polyurethane, varnish, or lacquer to seal the wood and enhance its durability.
Buff and Polish
After the finish has dried, lightly buff the wood’s surface with a fine-grit sandpaper.
This step smoothens any imperfections and enhances the wood’s luster.
Maintenance Matters
Proper maintenance is essential to keep your stained wood looking pristine.
Regularly clean and protect the surface to prevent wear and tear.
Conclusion
Mastering the art of wood staining opens up a world of possibilities for enhancing your woodworking projects.

By following these best practices, you can achieve beautiful, long-lasting results that showcase the natural beauty of wood.
FAQs
How do I choose the right stain color?
The choice of stain color depends on your project and personal preference. Consider the wood type and the desired finish.
Can I stain outdoor wood projects the same way as indoor ones?
Outdoor wood may require a different type of stain that offers better protection against the elements.
Is sanding necessary before staining?
Yes, sanding is crucial to prepare the wood surface and ensure even stain absorption.
What’s the difference between oil-based and water-based stains?
Oil-based stains offer deeper penetration, while water-based paints are eco-friendly and have a quicker drying time.
How can I prevent streaks and blotches when staining softwoods?
Using a pre-stain conditioner can help prevent blotching in softwoods.
Can I stain over an existing finish?
Staining over an existing finish is possible, but it may require thorough sanding to ensure proper adhesion. Always test in an inconspicuous area first.
How can I remove an old stain from wood?
To remove old stains, use a wood stripper or sand the surface to bare wood. It’s a labor-intensive process, so be patient and take your time.
What’s the difference between a wood conditioner and a wood sealer?
A wood conditioner prepares the wood for staining, while a wood sealer is applied after staining to protect the wood from moisture and damage.
Can I stain wood without sanding it first?
Sanding is recommended for a smooth and even finish, but some gel stains are designed to be applied over existing finishes without sanding. Follow the product instructions carefully.
How do I repair a blotchy stain job?
If you encounter imperfections or uneven staining, try re-sanding the surface lightly and then reapplying the stain. Alternatively, consult with a professional for guidance on corrective measures.


